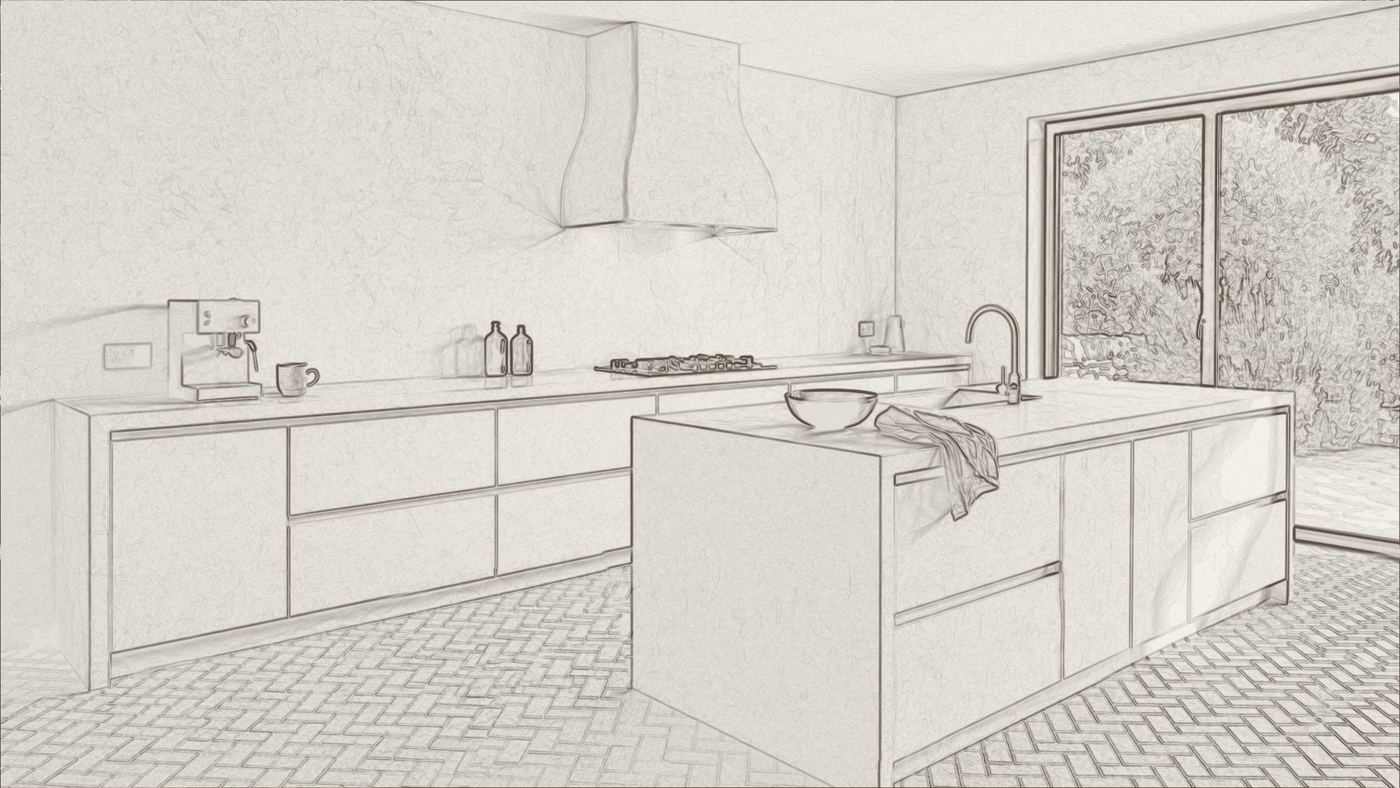
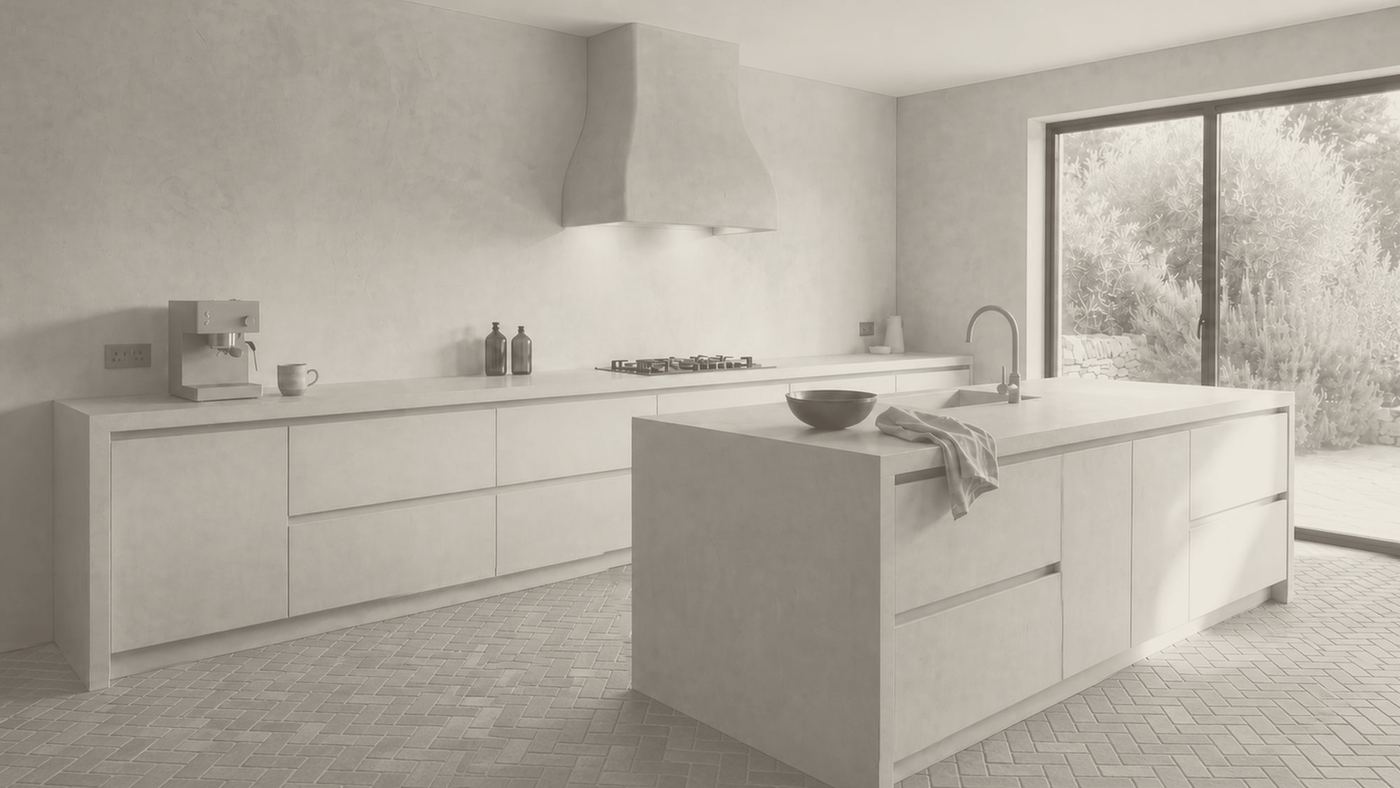
The brief we set ourselves
Most kitchens are a patchwork: painted walls, a stone or laminate worktop, a tiled splashback, a steel hood, a different floor. Every junction is a line and every line is somewhere for grease, water and dust to collect. The Studio Kitchen began as a question we kept being asked at survey: how far can a microcement kitchen go before it stops making sense? Worktops, yes - but the island? The extractor hood? The walls behind the hob?
So we designed one to find out. This is not a client's home; it is a design study built in our own studio and it now does two jobs. It is the kitchen we show at design visits and it is the room behind our finish visualiser, where you can put any colour you like on every surface you see here.
The design process
The study followed the same route every TVPC kitchen follows, because the point was to test the process as much as the finish.
Measure and listen. A kitchen is set out from its fixed points - the hob, the sink run, the door to the garden - so the first step is always a survey: dimensions, the substrate under everything, where the light comes from and what it will do to a matte mineral surface across the day. The morning sun through the sliding doors here is why the island sits where it does.
Design in the studio. With the survey in hand the room is modelled properly: cabinet runs, the island's proportions, the depth of the worktop overhang, the sweep of the hood. Finishes are decided as a family rather than one at a time. Here the palette is deliberately narrow - a warm, pale mineral tone carried across the worktops, island, hood and walls - so that the terracotta floor and the brass tap are the only two "other" materials in the room and both are there on purpose.
Sample panels, in your light. Nothing is signed off from a screen - and in the study the finish was the last layer to go on, after the drawing and the lighting model had been settled (see the stages below). The chosen tone is mixed and trowelled onto physical sample panels, sealed exactly as the kitchen will be and viewed in the room it is destined for - by the window, under the hood light, next to the floor. If a client has picked a custom colour in the visualiser, this is where we match it: pigmented in the studio and confirmed on the panel before a single coat goes on site.
Walk through it in VR. The modelled kitchen goes into our design reveal, so you stand in the room with a headset on and the real sample panels in your hands. Sight-lines, the height of the worktop against the window, whether the hood feels heavy - all of that is settled before anything is built.
Build, then seal. Cabinet carcasses and the island framework go in first. The worktops, island faces and splashback zone are then taken in worktop-grade microcement, the hood in a heat-tolerant lime plaster and the walls in a fine microcement to match. Everything is sealed as a system, cured and only then handed back.
What is in the room
The long run and the island are one worktop-grade microcement, taken over the edges and down the faces so the island reads as a single carved block. The sink is set flush and the microcement is returned into it, which is the detail most people ask about first: no upstand, no silicone line, nothing to discolour. The hob sits in the same surface with a matte, wipe-clean field around it.
The extractor hood is the piece that surprises visitors. It is a plastered form, not a steel box - shaped in the studio, then finished in lime plaster, which handles the warmth over a hob far better than a paint film. The walls carry the same tone in a fine microcement, so the hood, the splashback zone and the walls behind them become one continuous surface from worktop to ceiling.
The floor is a herringbone terracotta. We could have carried the microcement across it - many clients do and our seamless floors are built for exactly that - but the study needed to show the finish against a warm, natural material to prove the palette works with something other than itself. The brass tap and the wall sockets are the same idea in miniature.
The detail
- Worktop-grade microcement to the worktops, island faces and splashback zone, in one tone.
- Flush sink with the finish returned into the bowl - no upstand, no sealant line.
- Plaster-clad extractor hood, shaped in the studio, finished in heat-tolerant lime plaster.
- Fine microcement to the walls, matched to the worktop tone, worktop to ceiling.
- Food-safe two-component polyurethane seal at worktop build, cured before use.
- Palette set as a family; custom colours matched in the studio and confirmed on a sample panel.
Why it matters
A seamless kitchen is not a style so much as a way of building: fewer materials, fewer junctions, less to go wrong and less to clean. The Studio Kitchen is the clearest statement we have of that idea, which is why it is the room you colour in the visualiser and the one you walk through in the design reveal. Every finish in it can be built in your own kitchen, at your own proportions, in your own colour - and the process that produced it is the process we would follow for you.